A. Create Bootable USB
After downloading the Tiny11 ISO, you must create a bootable USB to install it.
Steps:
- Connect a USB flash drive (8 GB or larger).
- Download and open Rufus, a free tool for making bootable USB drives.
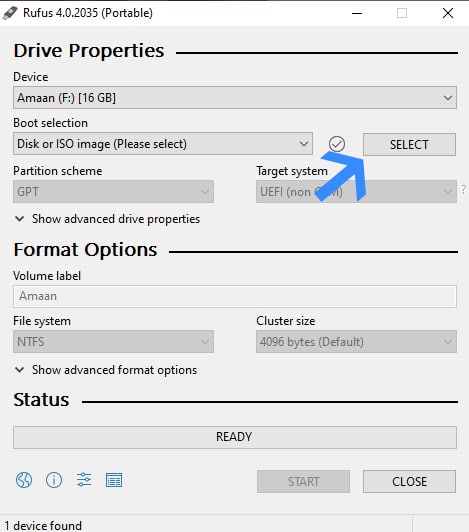
- Select your USB drive from the “Device” menu in Rufus.

- Click Select to select the Tiny11 ISO file you downloaded.
- Enter a volume label (such as Tiny11USB).
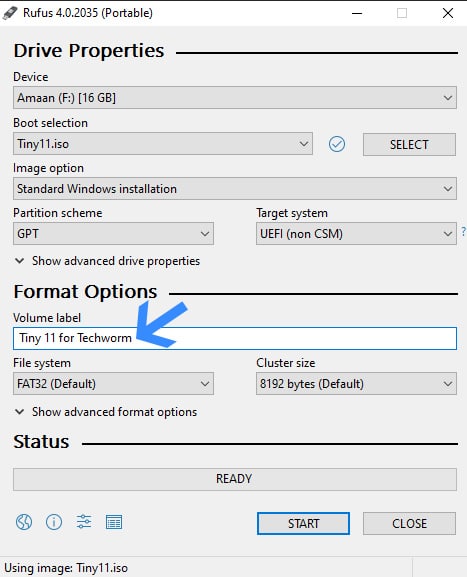
- Click Start and wait for the process to be completed. When done, you will see a success message.

Note: Rufus allows you to bypass TPM 2.0, but Tiny11 does not, making installation easier.
B. Install Tiny11 OS
Now that your USB is ready, install Tiny11 on your PC.
Steps:
- Restart your computer and navigate to the boot menu by pressing the manufacturer-specific key during startup (listed below).
- Choose your USB bootable drive from the boot menu.
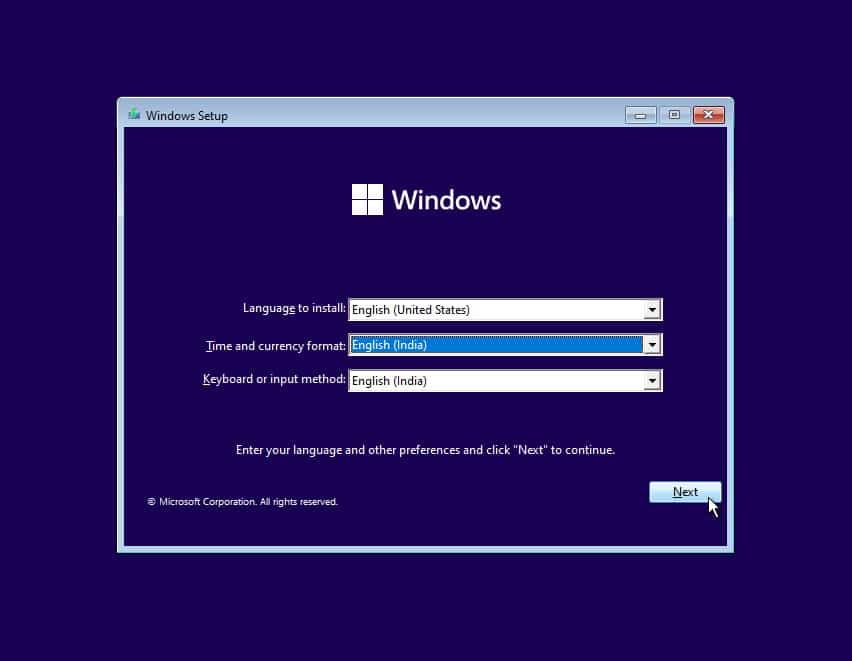
- Wait for the Tiny11 setup to load.
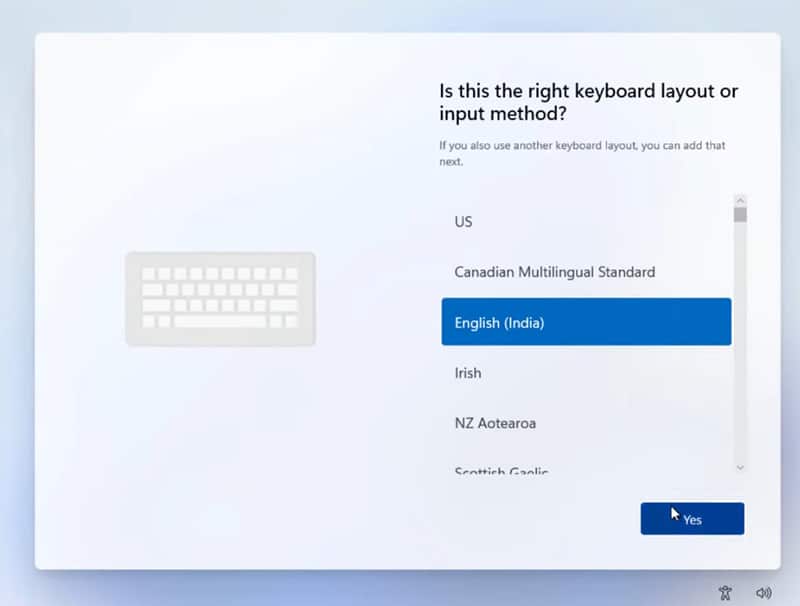
- Set your language, time, currency, and keyboard preferences.
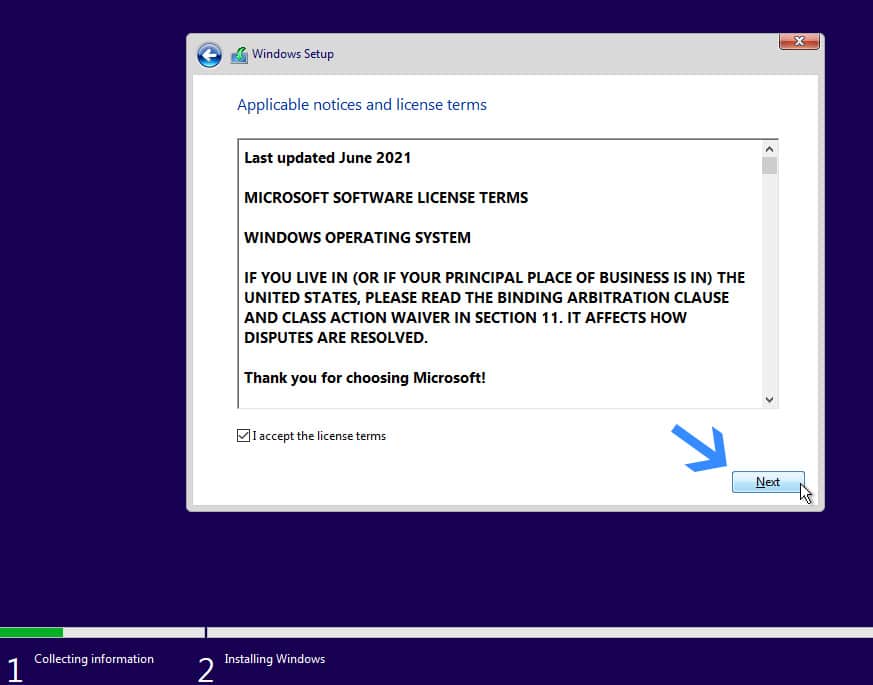
- Accept the license terms, then click Next.
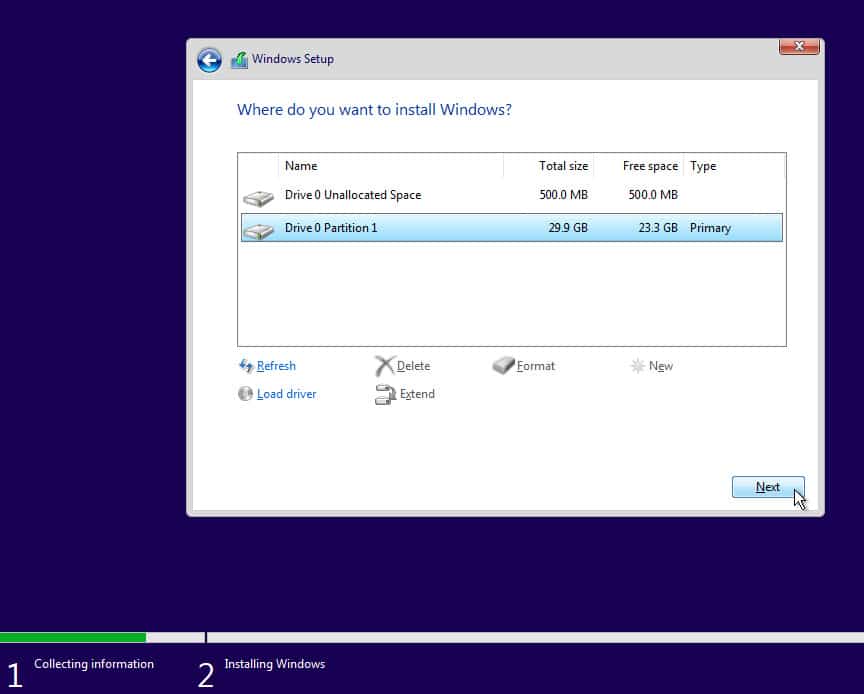
- Choose the partition where you want Tiny11 to be installed (if necessary, create a new partition).
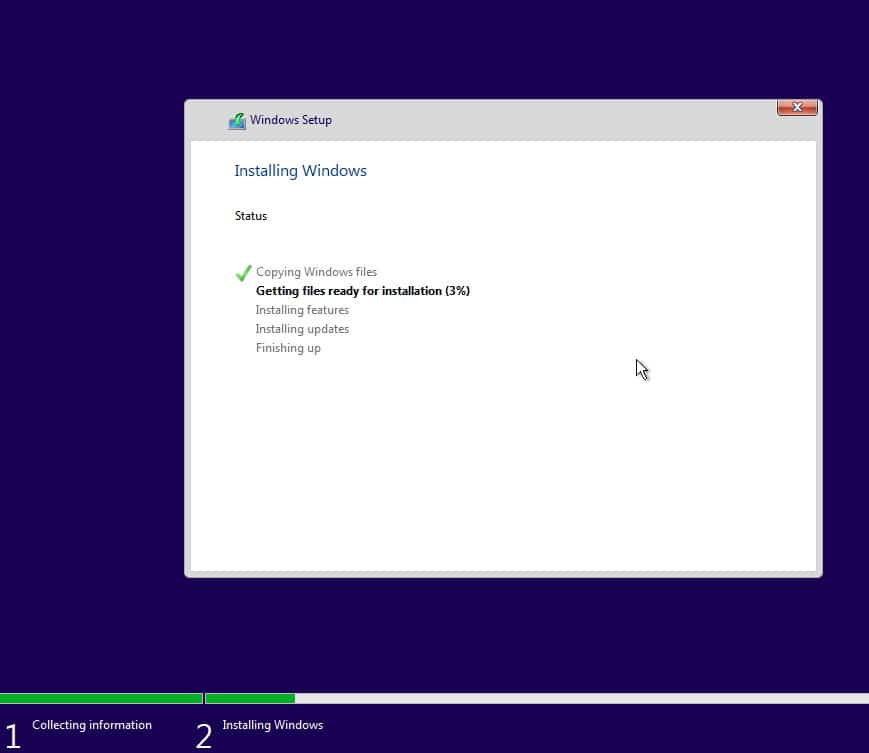
- Click Next and wait for the installation to complete. Your computer may restart several times during the process.
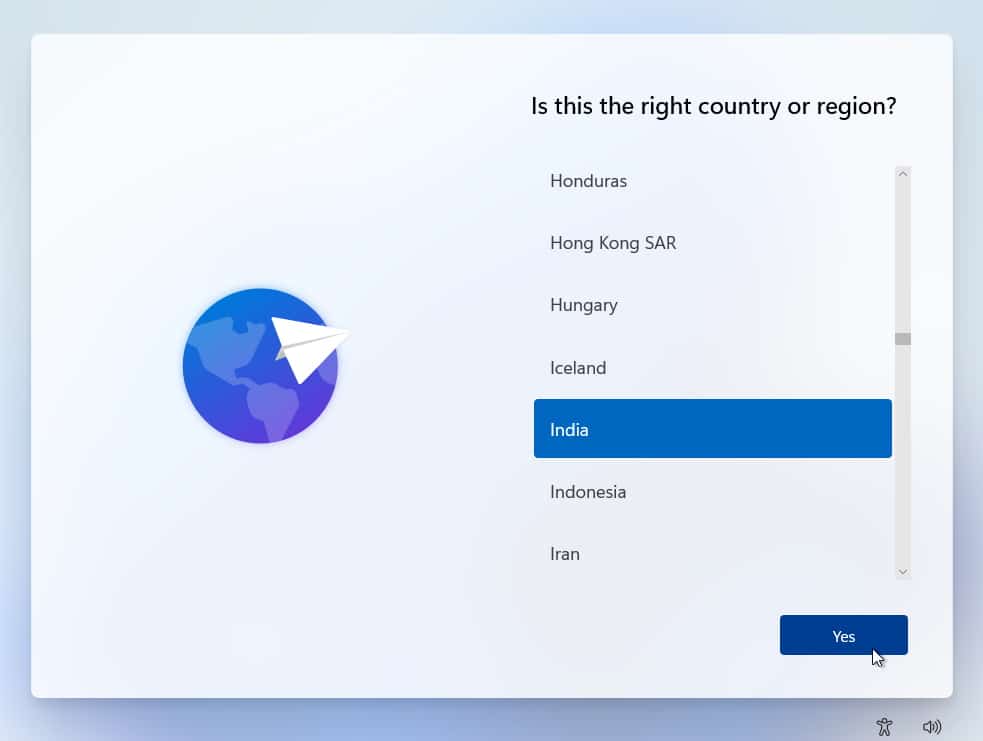
- After installation, go through the setup wizard to select your country, keyboard layout, and device name.
- Wait a few minutes while Tiny11 completes the setup before being taken to the desktop.
Common Boot Menu Keys:
Device Brand | Boot Menu Key |
ASUS | F8 |
Acer | F12 |
Dell | F12 |
HP | F9 |
Lenovo | F8, F10, F12 |
Gigabyte | F12 |
MSI | F11 |
C. Getting Started with Tiny11 OS
When Tiny11 is installed, it includes the essentials such as Microsoft Edge and media players. To personalize your setup:
- Install browsers such as Google Chrome and Firefox.
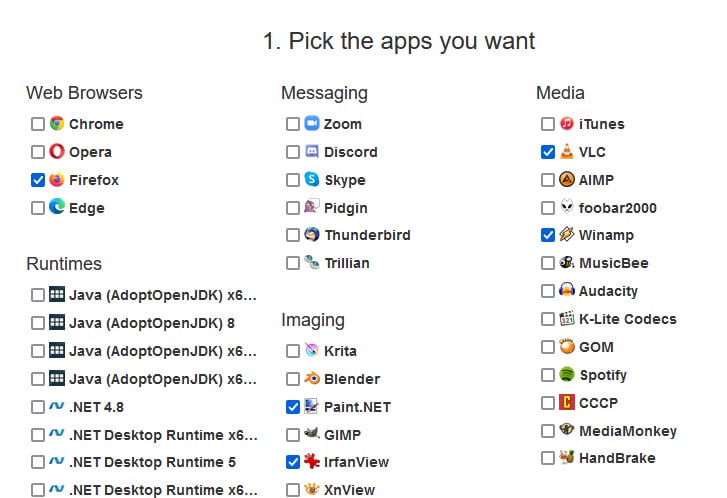
- Use Ninite to bulk install popular applications quickly.
- Customize your settings and install any necessary drivers for your hardware.

Congratulations! Your PC just got a new lease on life — enjoy a faster, smoother, and cleaner Windows 11 experience with Tiny11.